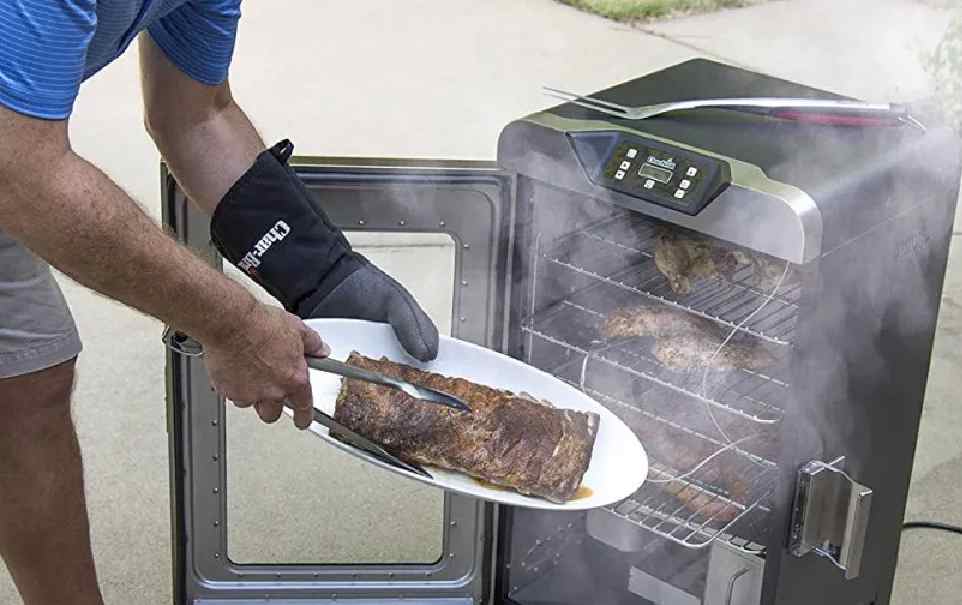
Get your backyard BBQ companion ready for its first cookout by burning off manufacturing residues and applying a protective oil layer.
Check out our step-by-step guide on how to season your new electric smoker for a delicious and safe smoking experience.
- Why Do You Need To Season An Electric Smoker?
- How To Season An Electric Smoker: Step By Step
- Tips and Tricks for Your First Electric Smoker Experience
Why Do You Need to Season an electric smoker?
As a practical person, you may wonder why seasoning your electric smoker is important.
Well, here’s a straightforward answer: seasoning is crucial to ensure your smoker’s cleanliness and longevity.
It prepares your smoker for optimal performance and enhances the flavors of the food you cook in it.
Seasoning, despite its name, doesn’t involve adding salt or pepper. Instead, it’s a process of cleaning the smoker’s interior and applying a thin layer of protective oil to its surfaces before using it for the first time.
This process effectively removes residue from manufacturing, such as machine oils, dust, solvents, or petroleum-based substances. Trust us, you don’t want these chemicals in your food!
Additionally, seasoning helps cure any paints or coatings inside your smoker, prevents rust, and creates a protective barrier against smoke moisture.
This not only extends the life of your smoker but also enhances the smokey flavor that will be imparted to your food over time.
How to season an electric smoker: Step By Step
Seasoning your electric smoker is essential to ensure optimal performance, longevity, and deliciously smoked food.
While the process might differ slightly based on the smoker brand, these general steps can be followed for most models, including Masterbuilt electric smokers.
Step 1. Assemble your smoker according to the manufacturer’s instructions, and ensure all parts are properly secured and in place.
Step 2. If desired, clean the interior of the smoker, including removable parts such as cooking grates, wood chip tray, and water pan, using a soft sponge and soapy warm water. Wipe down with a non-abrasive cloth and leave to dry.
Step 3. Apply a thin layer of cooking oil to the interior surfaces of the smoker and all removable parts, except for the heating element. Canola oil works well for this purpose.
Step 4. Reassemble the smoker, placing all removable parts back inside. Keep the water pan empty for now.
Step 5. Plug in the smoker and fully open the vents. Set the temperature to the maximum allowed, typically around 275°F (135°C) for most brands.
Step 6. Allow the smoker to heat through for 3 hours. This will help to burn off any residue and season the smoker.
Step 7. In the last 45 minutes of the seasoning process, add wood chips to the wood chip loader. Add 8-12 chips initially, then add more every 20 minutes, being cautious not to overload the loader.
Step 8. Once the 3-hour seasoning process is complete, your electric smoker is ready for use.
Remember to consult your specific smoker’s manual for any additional instructions or recommendations.
Related >> How To Season A Smoker (6 Simple Steps)
Tips and Tricks for Your First Electric Smoker Experience
Now that your electric smoker is seasoned and ready for action, it’s time to embark on your first smoking adventure.
Here are some helpful tips to make your initial smoking experience enjoyable and successful:
- Begin with budget-friendly and less tricky cuts of meat, like pork butt or a whole chicken. These options are perfect for your first smoke, as electric smokers are quite forgiving, and you’ll have a chance to learn as you go.
- If your smoker has a cold-smoking attachment, consider trying your hand at smoking cheese. While maintaining the right temperature for cheese might be a bit challenging, it’s a quick, affordable, and tasty way to familiarize yourself with your new smoker.
- Keep an eye on moisture levels during the smoking process. If your electric smoker comes with a water pan, use it to prevent the meat from drying out. Alternatively, you can use a small cake tin filled with water or a similar makeshift solution.
- Be prepared with the right equipment before you start smoking. A high-quality meat thermometer is essential to ensure accurate temperature readings and prevent foodborne illness, especially when cooking chicken. The thermometer that comes with your smoker may not be reliable enough, so investing in a separate one is a smart choice.
Related >> How to Use Wood Chips in an Electric Smoker (3 Simple Methods)
Related >> How Does an Electric Smoker Work?
Final Thoughts
Dedicating some time to appropriately season your electric smoker is crucial for a smooth, flavorsome, and secure cooking journey.
By adhering to the guidelines we’ve shared, you’ll soon find yourself on the path to mastering the art of backyard BBQ.
Greetings! I’m Chad, a 43-year-old barbecue aficionado hailing from the beautiful state of Texas. I’m thrilled to invite you on a culinary journey as we explore the art of grilling and smoking together. Through this blog, I aim to ignite your passion for barbecue by offering:
Scrumptious, time-honored BBQ recipes passed down through generations, guaranteed to tantalize your taste buds.
Expert guidance on mastering the grill, smoker, and diverse cooking techniques to elevate your barbecue game.
Recommendations on choosing the perfect tools and equipment tailored to your grilling requirements.
An inside look at the latest trends, innovations, and advancements in the ever-evolving world of barbecue.


