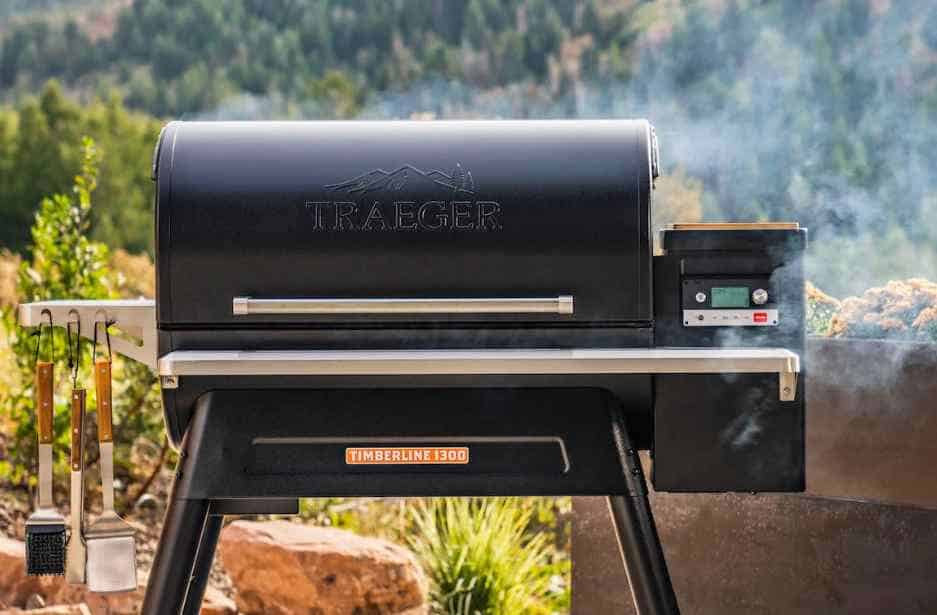
Welcome to the world of outdoor cooking, and kudos on your new smoker purchase!
As an aspiring Grill Master, you’re about to embark on a flavorful journey, creating delectable dishes that will outshine any you’ve tasted before.
However, before you dive in and start smoking that succulent cut of meat, there’s a crucial first step to tackle: seasoning your smoker.
- Why Seasoning a New Smoker is Essential?
- How To Season Your Smoker In 6 Steps?
- Video: “Seasoning your New Offset Smoker”
Why Seasoning a New Smoker is Essential?
Seasoning a new smoker is an essential process to guarantee a mouthwatering barbecue, maintain a clean cooking environment, and prolong the life of your equipment.
Here’s why it’s so vital:
Eliminate odors and impurities:
During its production, the smoker may pick up smells from paint, adhesives, and other substances.
Additionally, remnants like dust, metal shavings, oils, or grease might be present.
By seasoning your smoker, you’ll effectively remove these impurities and odors, ensuring they won’t interfere with the flavor of your food.
Safeguard your smoker against the elements:
The seasoning process forms a protective layer on your smoker’s interior surfaces.
This carbon and smoke coating allows condensation to slide off, cures the paint, and helps your smoker maintain its pristine appearance, even after multiple uses.
Proper seasoning serves as a shield against harsh weather, especially if you don’t have a covered storage area for your smoker.
Extend the life of your smoker:
Most smokers don’t come with rust-proofing, and since you’ll be using water and liquids to keep your food moist, humidity and condensation can accelerate the aging process.
Over time, rust may begin to form. Seasoning your smoker creates a protective layer that prevents rust and corrosion, ensuring your smoker stays in optimal condition for longer.
Get to know your smoker:
Seasoning your smoker is also an excellent opportunity to familiarize yourself with its temperature controls and functioning without risking any expensive cuts of meat.
How to Season Your Smoker in 6 Steps?
Properly seasoning your smoker is essential to ensure great-tasting smoked food and a long-lasting, rust-free appliance.
Follow these simple steps to season your new smoker and get ready for some mouthwatering meals!
1. Clean the smoker and its equipment:
Start by removing all racks, grates, and pans from the smoker.
Use a mild dish soap or a mixture of baking soda and water to clean the interior surfaces, racks, grates, and pans.
Be sure to rinse thoroughly with warm water to remove any residue.
Allow all cleaned surfaces to air dry, or if you’re in a hurry, you can use a cloth, towel, or electric leaf blower to speed up the process.
Related >> How to Clean an Electric Grill (Best Methods)
Related >> How to Clean a Pellet Grill (in 7 Easy Steps)
2. Coat the smoker with oil:
Once completely dry, coat the interior walls, lid, and racks of the smoker with a high burn-point cooking oil like canola or grapeseed oil.
You can use a cooking spray or a soft cloth to apply a thin, even coat. Don’t forget to wear rubber gloves to prevent removing the oil while handling the equipment.
3. Prepare the charcoal and wood:
Fill one chimney with charcoal and light it using a fire starter. Allow it to heat for about 10 minutes.
Meanwhile, add more charcoal to the firebox on the smoker. Pour the lit coals from the chimney into the firebox once they’re fully ignited.
Use the same type of wood you plan to use for barbecuing.
4. Set the temperature and open vents:
Open all intake and exhaust vents completely to allow the greatest amount of airflow.
This will help your smoker reach a higher temperature than normal, around 275-300 degrees Fahrenheit.
5. Heat the smoker:
Maintain the temperature at 275-300 degrees Fahrenheit for 2-3 hours, adding wood as needed.
This process will ensure any leftover production chemicals and solvents burn off and help create a protective layer inside your smoker.
To get rid of any metallic smells, add your preferred wood toward the end of this process.
6. Let the Smoker Cool Down:
After completing the heating cycle, give your smoker ample time to cool off entirely. Once it’s back to room temperature, go ahead and clear out any ash remnants.
You can also watch a video about “Seasoning your New Offset Smoker”below:
Related >> How to Season an Electric Smoker (8 Easy Steps)
Final Thoughts
Seasoning your new smoker is essential for removing contaminants, protecting it from the elements, extending its lifespan, and getting to know how it operates.
By taking the time to season your smoker, you’ll be setting the stage for consistently delicious and mouthwatering barbecue meals.
>> Visit our extensive BBQ guides page for more articles that are similar to this one.
Greetings! I’m Chad, a 43-year-old barbecue aficionado hailing from the beautiful state of Texas. I’m thrilled to invite you on a culinary journey as we explore the art of grilling and smoking together. Through this blog, I aim to ignite your passion for barbecue by offering:
Scrumptious, time-honored BBQ recipes passed down through generations, guaranteed to tantalize your taste buds.
Expert guidance on mastering the grill, smoker, and diverse cooking techniques to elevate your barbecue game.
Recommendations on choosing the perfect tools and equipment tailored to your grilling requirements.
An inside look at the latest trends, innovations, and advancements in the ever-evolving world of barbecue.
")


")
